Introduction
Free-motion machine embroidery is a creative technique that allows you to "draw" with your sewing machine. Think of the needle as your pen and the thread as your ink. You’ll soon be adding unique designs and textures to your fabric.
With a few adjustments, most domestic sewing machines can be set up for free-motion work, letting you free to design anything in stitch, personalise garments, quilts, and homewares from the comfort of your own sewing space. This guide will walk you through the essential steps to prepare your sewing machine for free-motion embroidery.
What You’ll Need
· Your domestic sewing machine, one that can drop or cover the feed dogs. Refer to your owner’s manual for instructions on how to use your sewing machine.
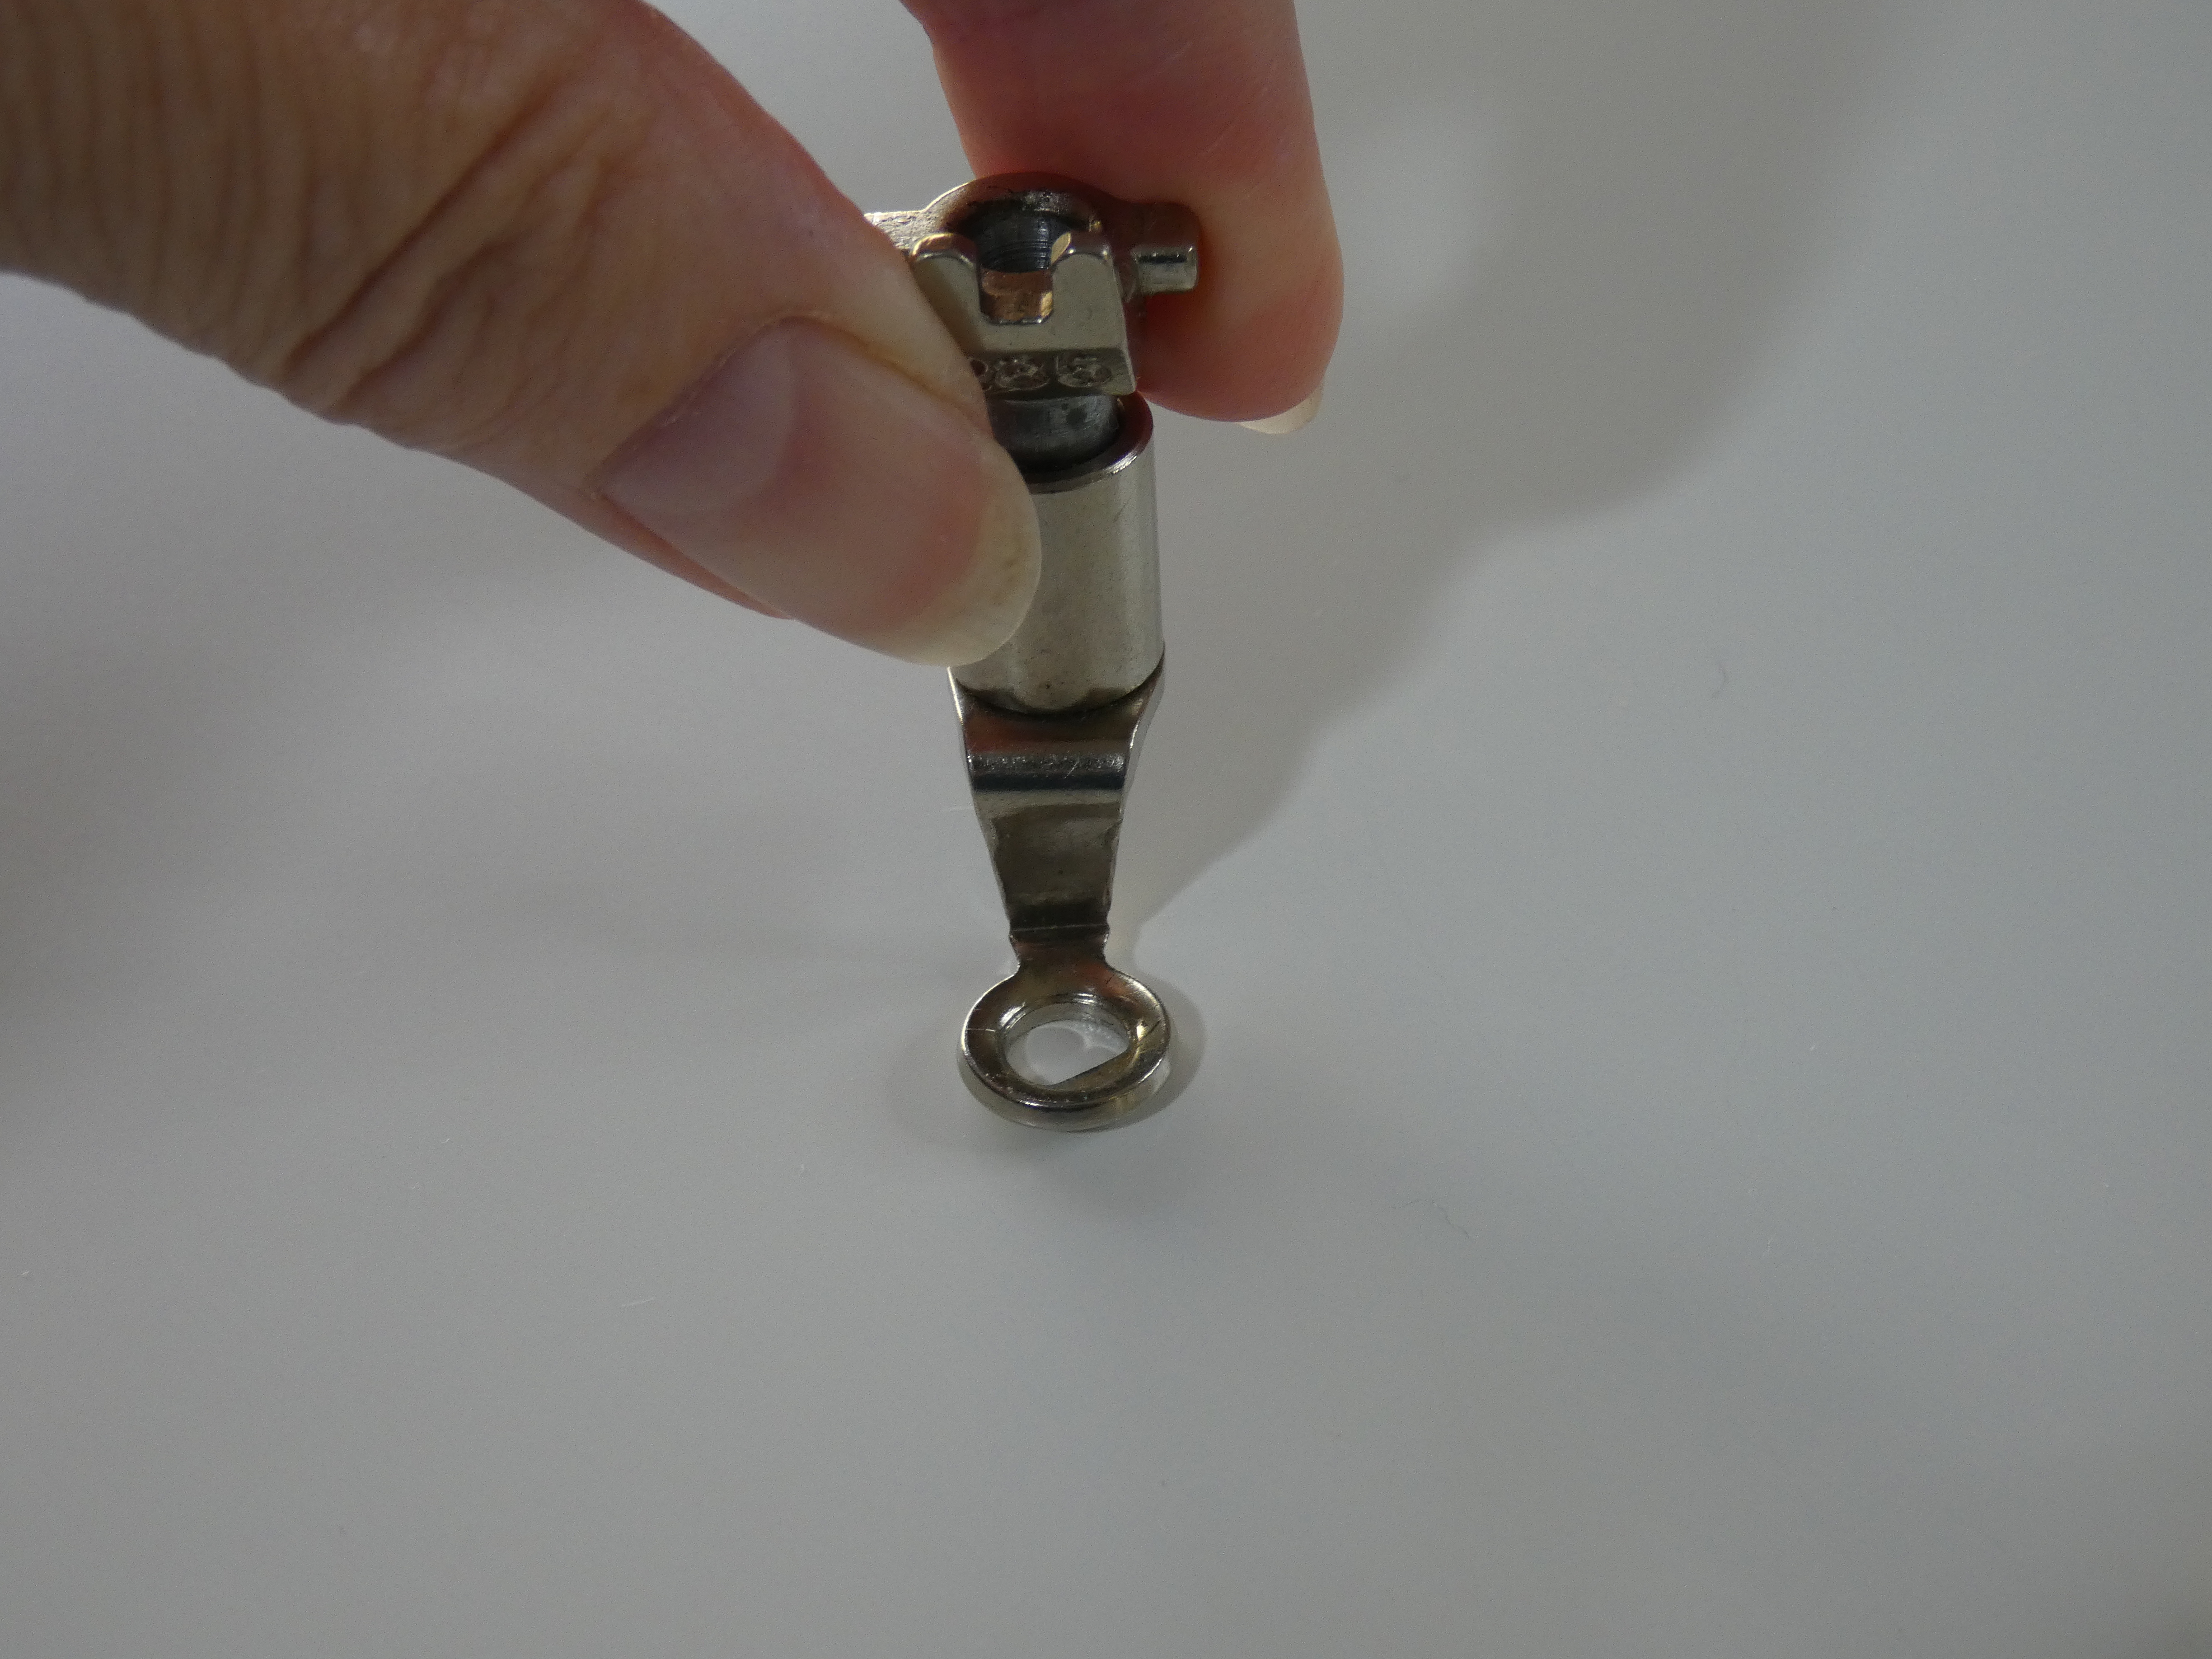
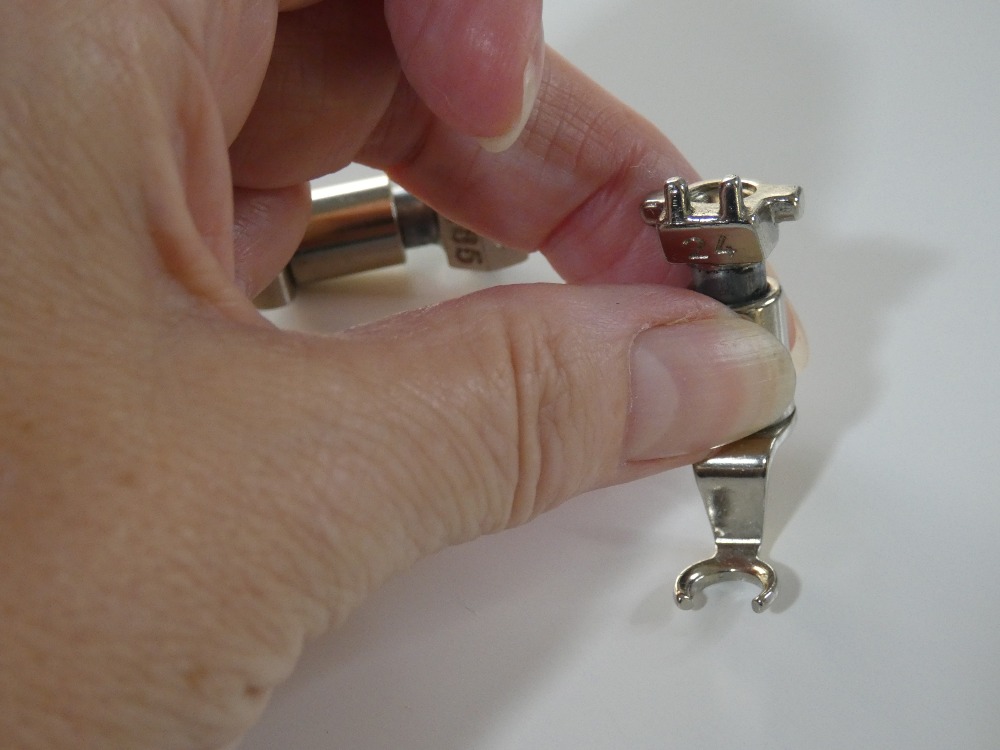
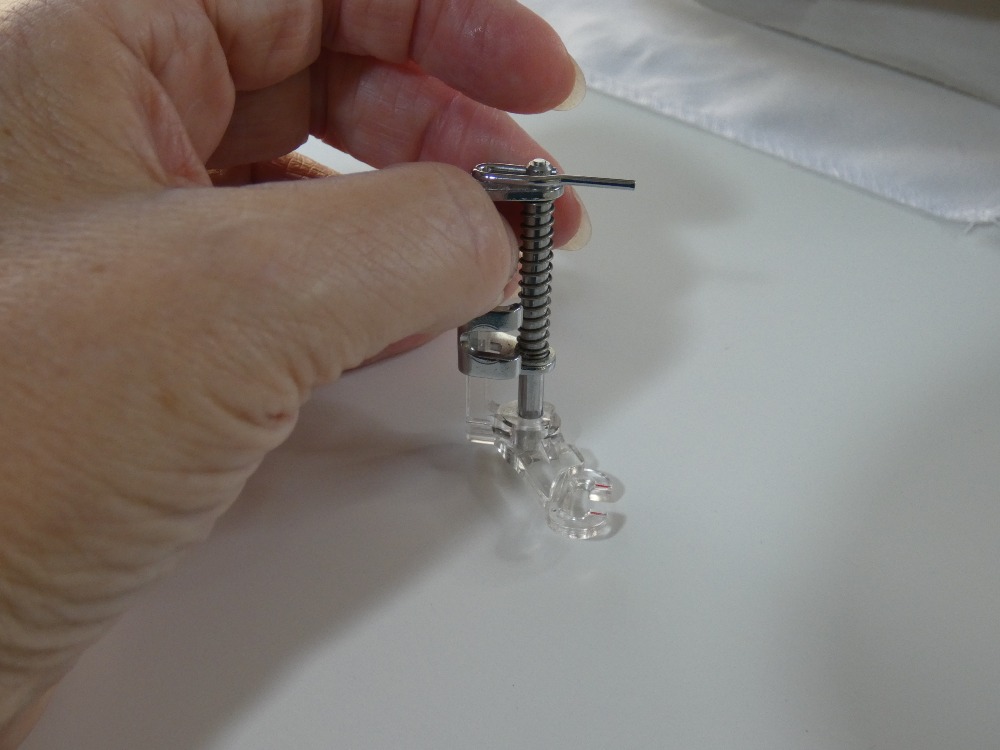
· Free-motion or darning foot.
· Embroidery or all-purpose thread (polyester or rayon recommended for sheen).
· Sewing machine needle (I recommend using a 130N Topstitch needle – size 80/12 is ideal)
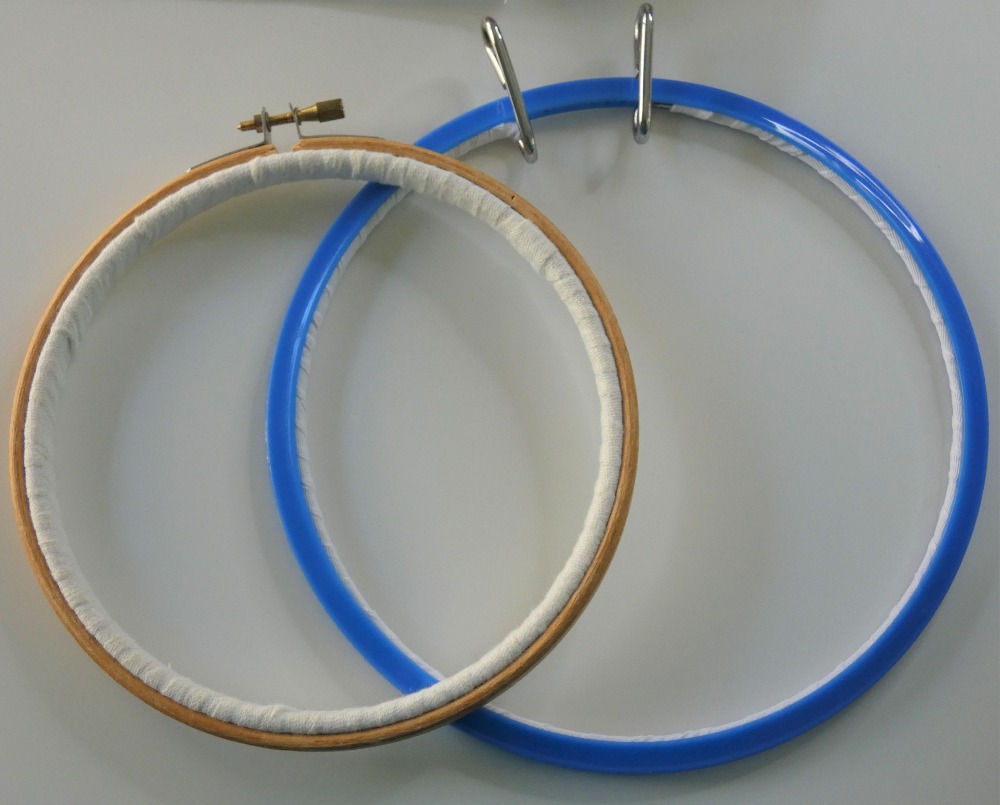
· Stabiliser or an embroidery hoop (or both), as these can be used to keep your fabric taut.
Step-by-Step Setup Instructions
1. Remove your standard presser foot from your sewing machine and attach the free-motion or darning foot. This special foot lets you move your fabric freely under the needle and prevents fabric from bouncing as you stitch.
2. Lower or Cover the Feed Dogs. The feed dogs are the small teeth under the needle plate that move fabric forward. For free-motion embroidery, you need to lower (drop) them so you can move the fabric in any direction. If your machine doesn’t have a feed dog drop lever, use a feed dog cover plate, which often comes with the machine or can be purchased from a local sewing machine supplies shop.
3. Thread your sewing machine as you normally would, using embroidery or all-purpose thread in both the top and bobbin. Choose a colour that is different from your fabric, so that you can see your sewing as you do it.
4. Set the stitch length to zero or use your machine’s free-motion sewing setting. When the feed dogs are down, stitch length has no effect, as you control the stitch size by how quickly you move the fabric. Adjust thread tension as needed; you may need to test and tweak it slightly for best results, especially with specialty threads.
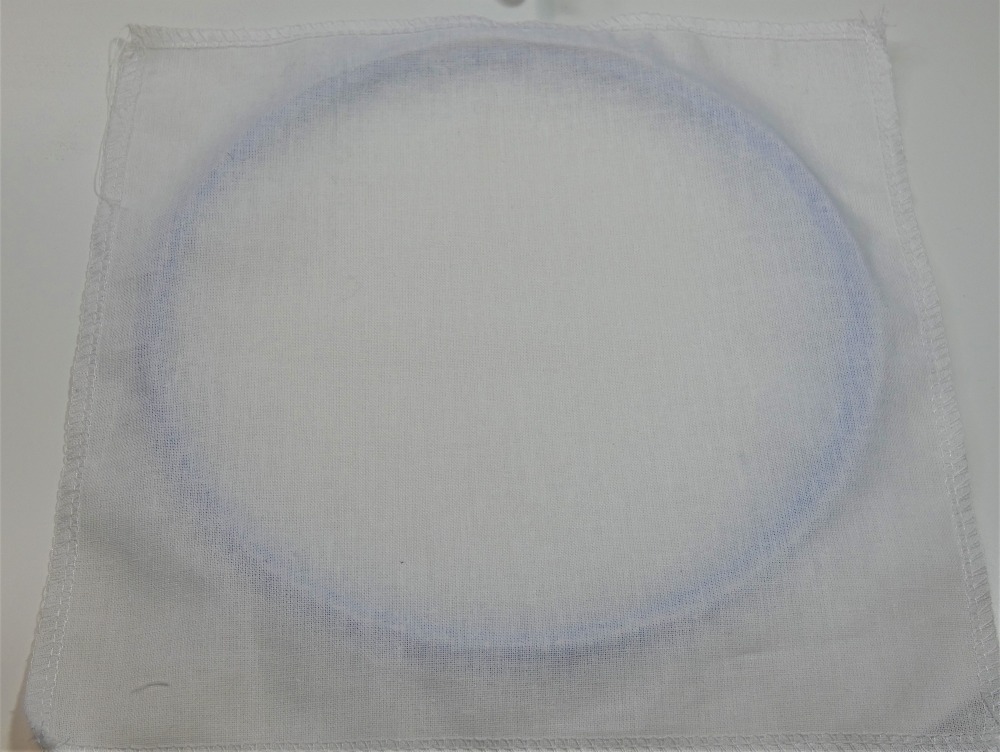
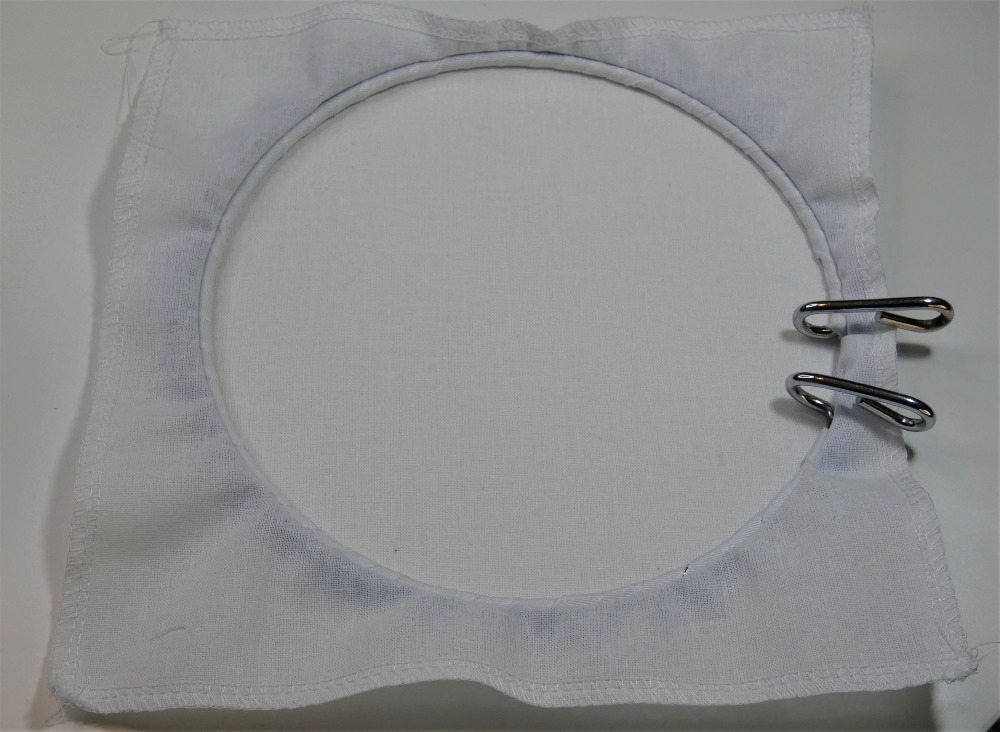
5. Prepare your fabric to prevent puckering. Place your chosen stabiliser underneath and if using an embroidery hoop, secure the fabric or fabric and stabiliser together in the hoop, keeping the fabric taut but not stretched.
6. Place your hooped fabric (or just the layered fabric and stabiliser) under the needle. Lower the presser foot (this often engages tension even with the free-motion foot). Bring the bobbin thread to the top by taking one stitch and pulling both threads out of the way. Hold the bobbin and top thread ends and then sew about three stitches in the same spot to secure your thread ends. You can then clip off the ends (this keeps them out of the way of your sewing.
RELAX
It’s important to relax and not tense your shoulders as you sew (believe me this happens to everyone!). Sit up straight with your arms bent at right-angles to your sewing machine.
After ½-1 hour of sewing, get up and stretch your body before continuing to sew. This will relax your muscles helping them to stay relaxed while you are sewing.
7. To begin sewing in free-motion machine embroidery put your hands gently on either side of the hoop, or the fabric and stabilser. Start sewing with a moderate speed and gently move the fabric in the desired direction to create your design. Practice makes perfect—begin with simple shapes. Try writing your name or drawing a leaf or flower. Increase complexity as you gain confidence. Keep your hands steady and move the fabric smoothly for even stitching.
Tips for Success
· Practice on scrap fabric before working on your main project.
· Use gloves with grips (like garden or quilting gloves) to help control the fabric.
· Don’t pull or push the fabric too quickly—let the needle do the work for consistent stitches.
· Try different stabilisers to see what works best for your fabric and design.
· Change needles regularly to avoid skipped stitches or fabric snags. You can bend your machine needle if you try to move your fabric too fast, so it is best to practice achieving a consistent pace.
Conclusion
Free-motion machine embroidery opens up a world of creative possibilities for sewists. With a bit of practice, your domestic sewing machine can produce professional-looking embroidery, allowing you to personalise your projects. So, gather together your sewing machine, fabric and thread, and begin your journey into the world of free-motion machine embroidery – JUST RELAX AND HAVE FUN!!